
All of these items are things that I used everyday when I was in school and college, so I figured that they would be incredibly universal and customizable to whatever you like or what your color style is! Let's get started!!
FOLDERS
How can we even have a conversation about school supplies without recognizing the almighty importance of pocket folders. If I can recall my school lists over the past years, at least 4 folders have been on that list each year. As these can get pretty bland for the older kids (unless you love Hello Kitty and the Avengers ... no shame), I thought we could snazz them up a little bit!
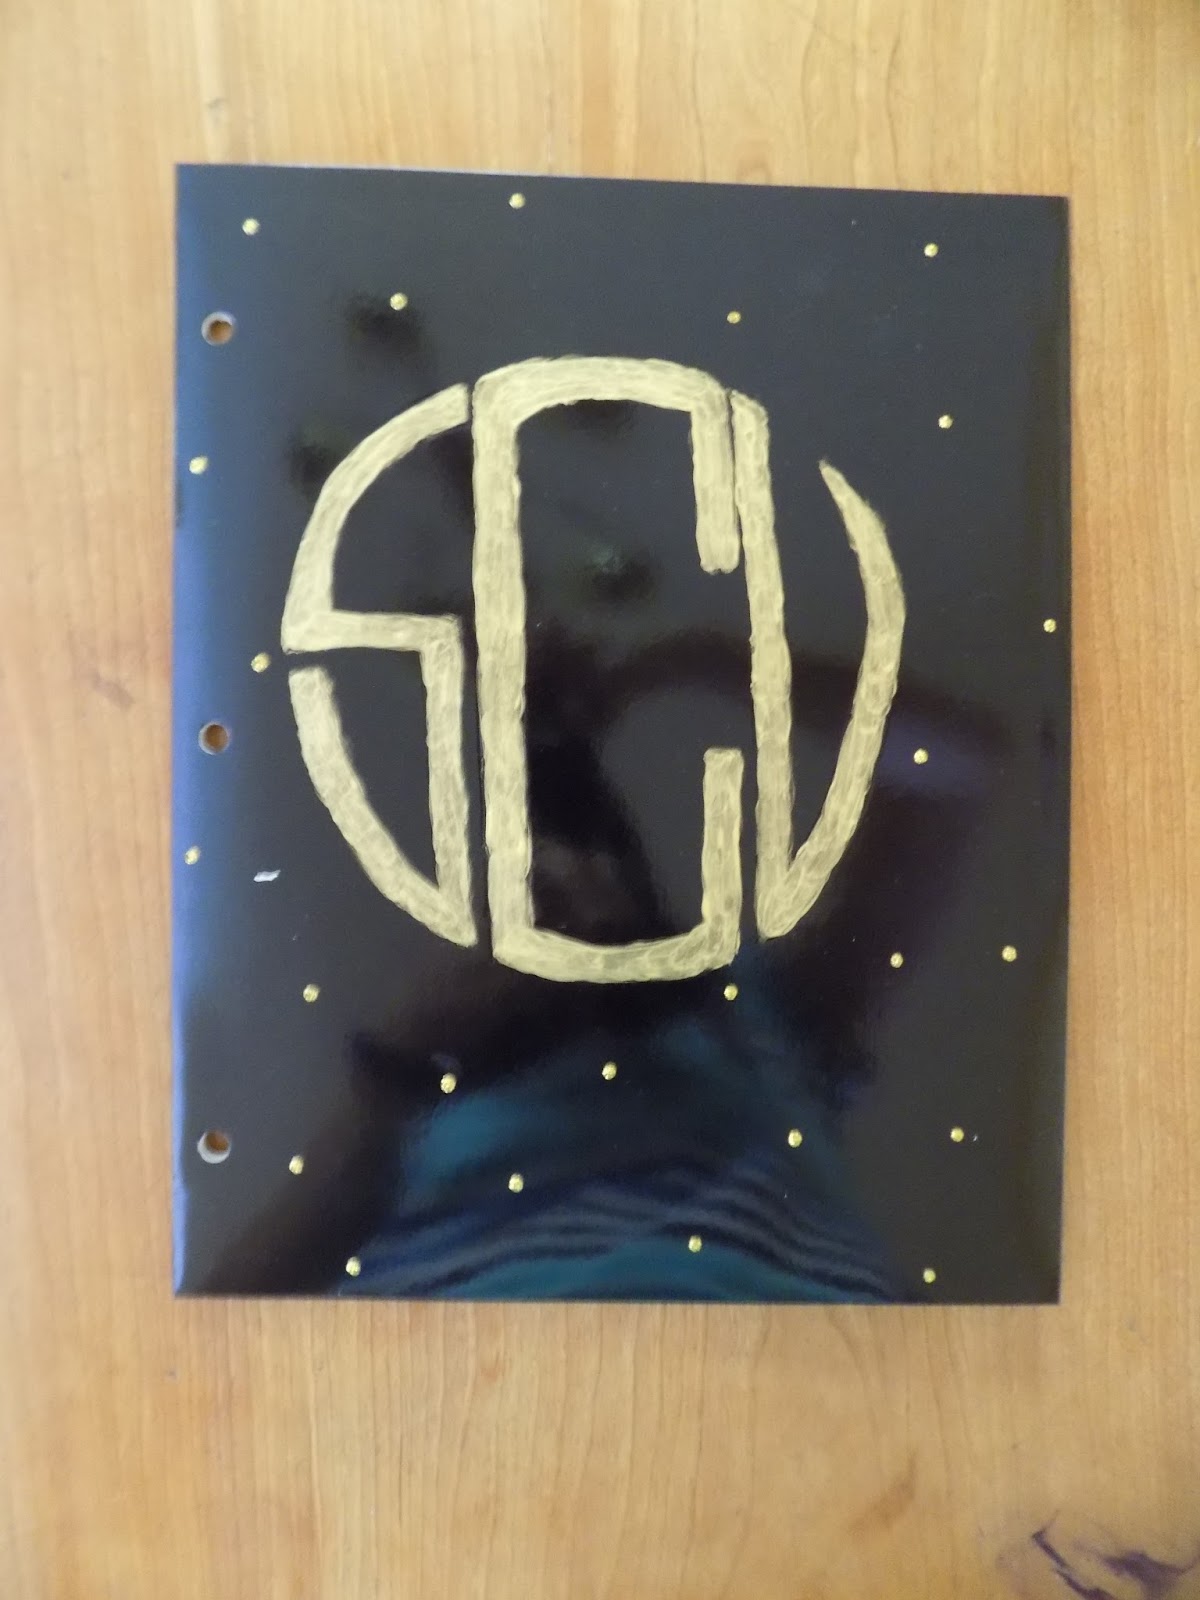
This first one is just a painted monogram that I created. What's great about the type of folder I bought (less than $1.00 at Walmart) is that you can make imprints on it if you press hard enough, so I drew the monogram I wanted, you can print yours too if you would rather, and then just traced it right onto the folder.
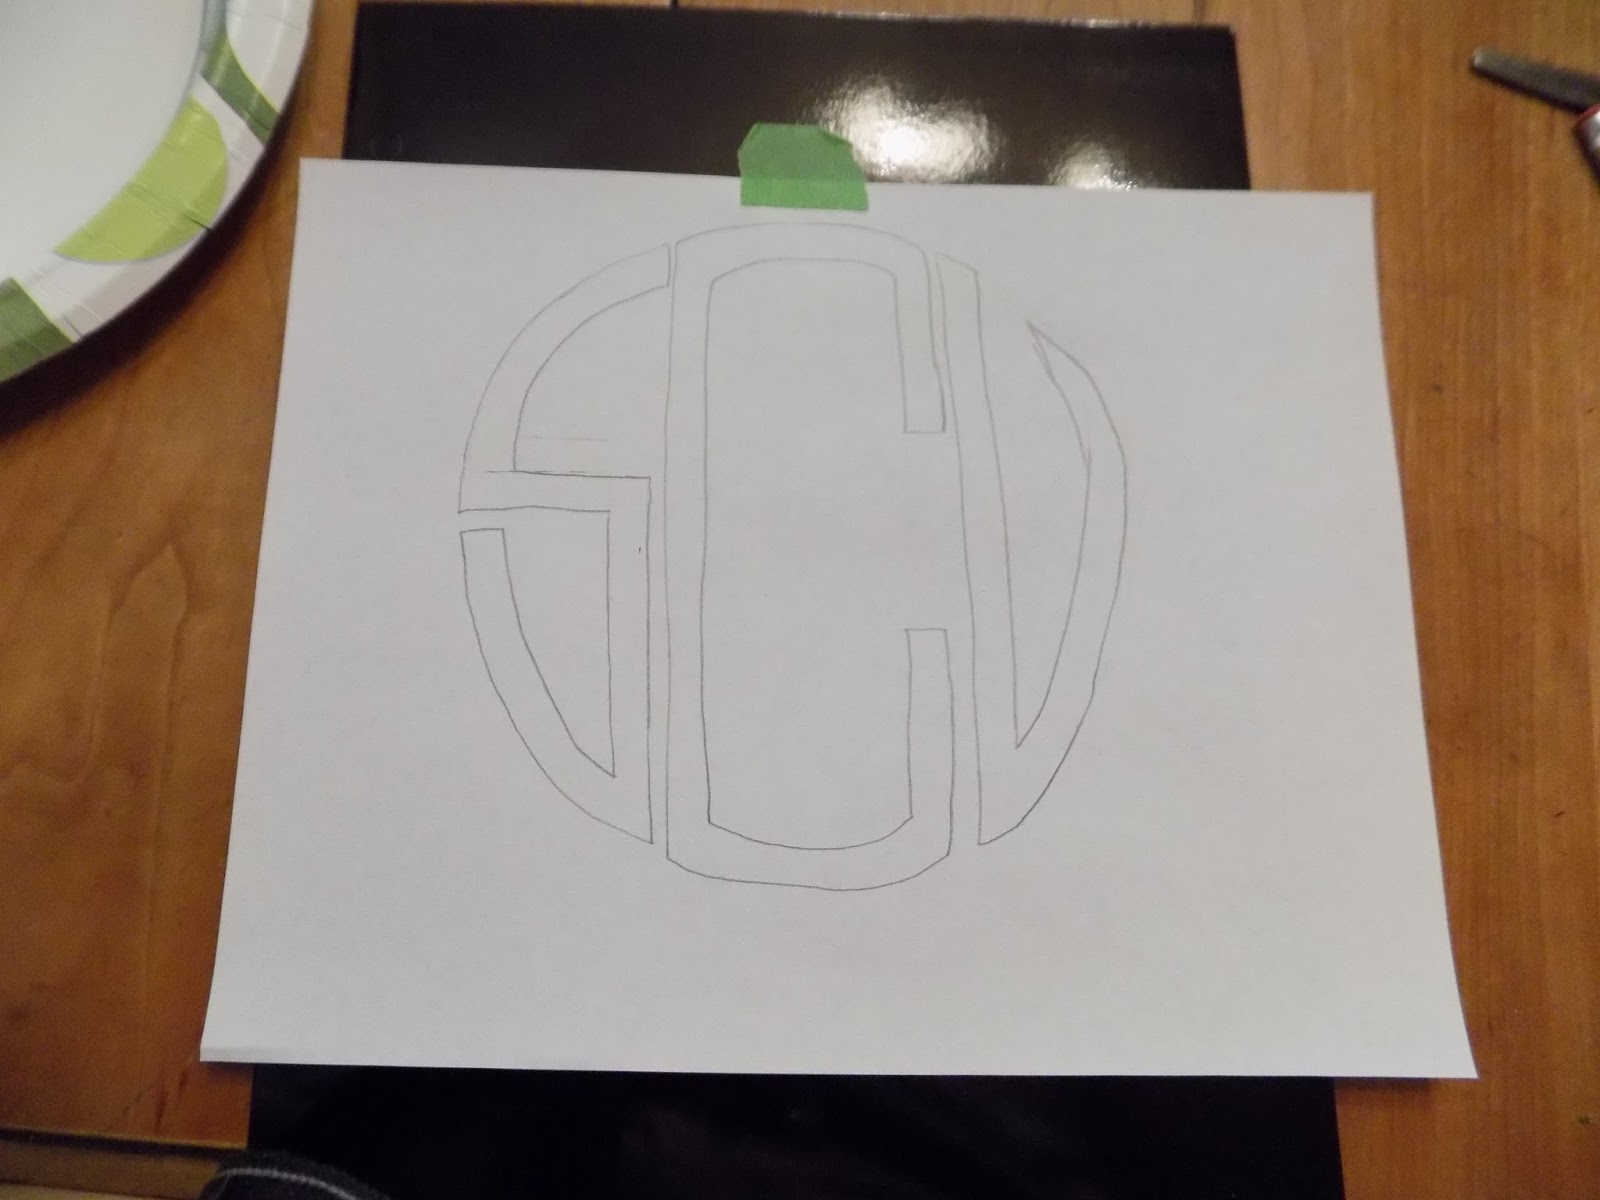

After that I got the paint color I wanted, which was regular craft paint that my mom had in her cabinet, you could also use paint pens if you prefer. Then I just started painting over the indents from the tracing.

Because my gold paint was on the thinner side, I did three coats on it to have it stand out a little bit more. Once that dried, I added some dots around the rest of the folder to give it more decoration!
This next folder design was a no fuss one which is great for those of you who want to be creative, but don't have the time or the mess to put into painting a folder. All of the stripes are made of Washi tape (also from Walmart - about $3.50) and you can put them into any design you want.

The one thing I like about washi tape is that it sticks, but not so much that it's hard to get off if you make a mistake or if your line isn't straight ... it took me three tries!
NOTEBOOKS
I love a good sparkle, so when I saw this Washi tape, I knew I had to get it to decorate my new notebook.

So, another great thing about using tape or paint for decorating your notebooks or school supplies is that you can have it be functional, as well as, cute. I always had to label my notebooks when I was in high school, especially with only two minutes at my locker between class, which was really only 30 seconds because of the treks down the hallway and the stops to talk to friends!

For this one I just layered the tape to cover over the hideous "70 sheets, college-ruled" that is printed on it, and also on the top to make it symmetrical. It actually did take a steady hand to make sure everything was even, but again, luckily it can come off and be re-taped to fix any mistake.

To add some extra snazz, I added a "MATH" label using the Washi tape cut into the letters. It is a really simple way to add that label that you need without having to write it out in Sharpie. If you have to put your name on it, you could also do that! This would also work with other folders as decoration too!
BINDERS
So, this one was definitely a "let's see how this goes" design. I love the look of watercolor designs, especially as backdrops for quotes, so I wanted to recreate that on this binder. I have to say...I'm quite proud of how it came out.

First, I put painter's tape around all of the edges so that paint wouldn't get on the inside or on the binding (basically everywhere I didn't want it to end up). This actually made it a lot easier when I was painting so that I could easily go off the edges without the fear of getting it everywhere.

Next, I put a base of white craft paint all over the binder using a foam paint brush. To help with the blending on the paint later on in the process, I put a decent amount of white paint on a small paper plate so that I could add pink to it to slowly pigment it.

Each time I added a drop or two of pink into the white on the paper plate, I started about an inch from the top of the newest shade and painted the rest of the way down. Then, add another two drops of pink to made the shade a little bit darker, and paint about an inch below the start of the next lightest pink.

This is to create that gradient effect that water color does. Once I had it all painted and was pleased with the outcome. I put a small coating of polyurethane over top of the binder to smooth it out. (Craft paint can be pretty chalky and can even rub off if it isn't treated.) So, this binder was I think $1.00, but it definitely looks a lot better than just a plain 'ole black binder! If you don't like pink, try blue or green!

The great thing about DIY-ing your school supplies is that you can completely make it your own, if you hate the color pink, get blue sparkly Washi tape, or purple paint for your monogram. If you hate monograms but love a good emoji, trace and paint that onto your folder. It is all about you so make it something awesome to keep you motivated throughout the school year!!
If you plan on DIY-ing some of your school supplies, feel free to tag me on Twitter (@chasing_college) or on Instagram (@skylarclapperton). I'd love to see them, you may just inspire my next project!!
enjoy the chase,
skylar
nice for your post
ReplyDeleteGesture Lock Screen